How to create Bitcoin Wallet? Everything about Electrum | Beginner's Guide

One of the most popular bitcoin storage wallet is the Lightweight Electrum Wallet. You only need to install client, because the entire chain is stored on remote servers.
Installation
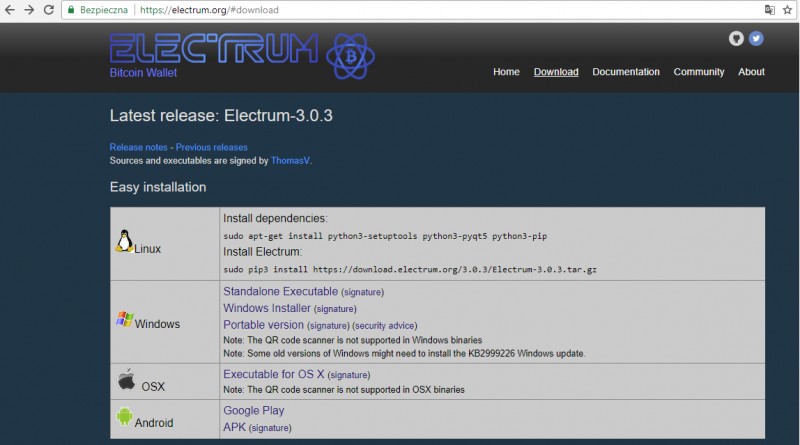
Download client from: https://electrum.org/#download

For Windows there are three versions:
- standalone executable - This is a non-installation version that saves data to the disk
- windows installer - this is the version with installation that writes data to the disk
- portable version - it is a version without installation, which saves data in the place of launch - e.g. on a pen drive or a rexternal disk
For the needs of this manual, we are installing Windows installer version

After downloading, choose the place of installation, and then click the Install button.
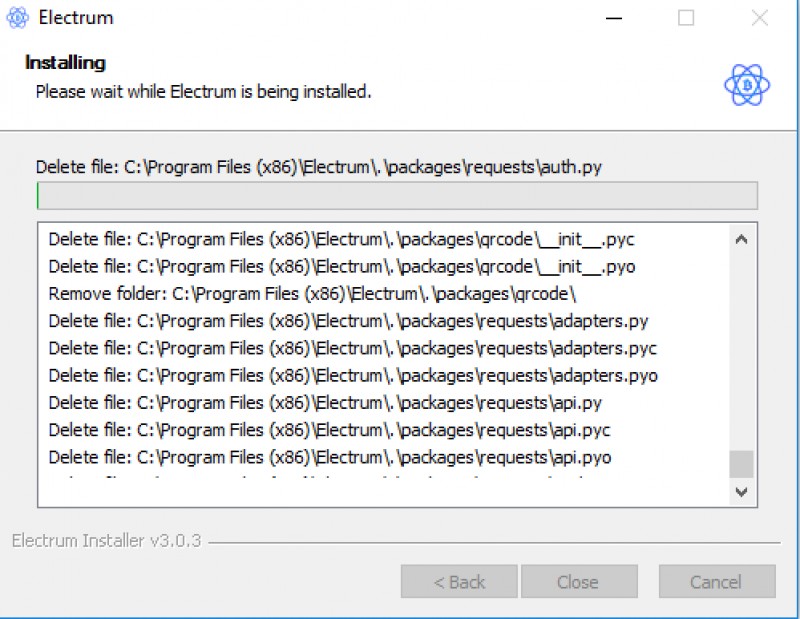
Installation is in progress.
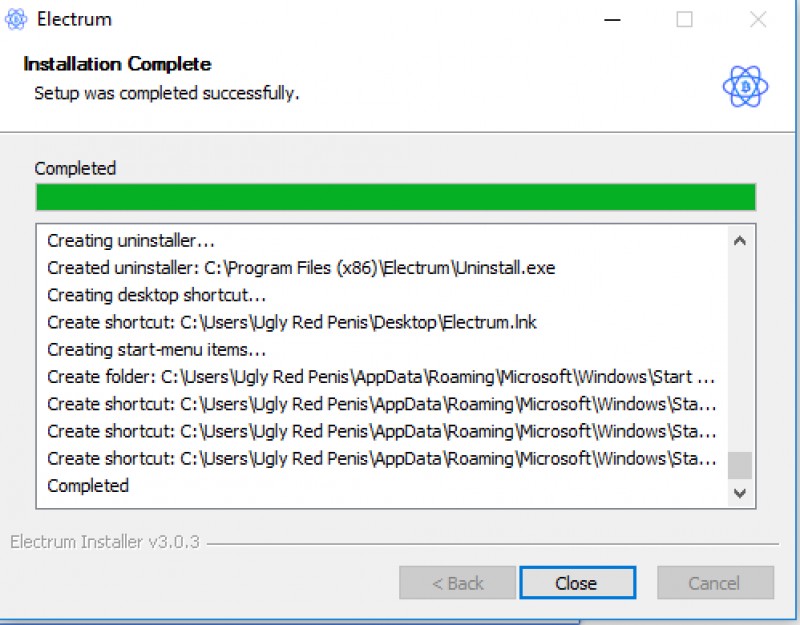
After installation, the “Installation Complete ” inscription is displayed, then click Close button.
In this step, we need to run Electrum.
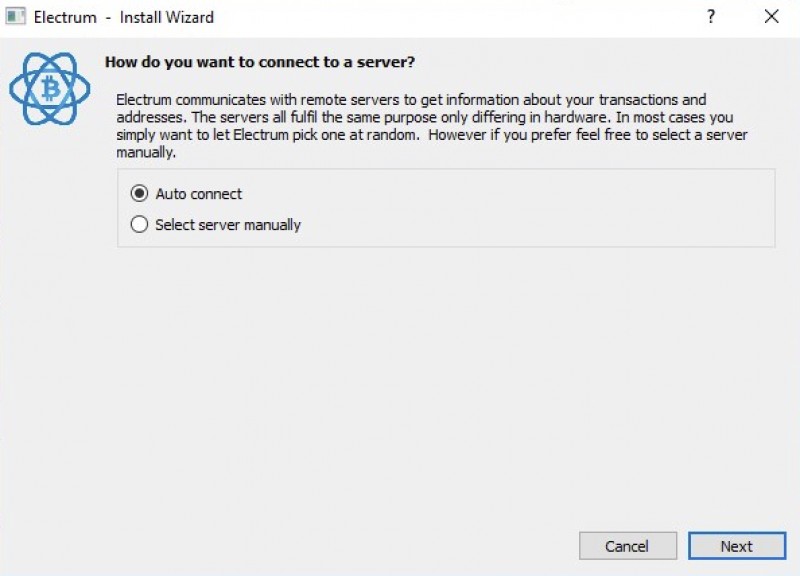
First, program will ask you for manual or automatic server selection. The chain files will be stored on this server. It’s best to choose “Auto connect”.
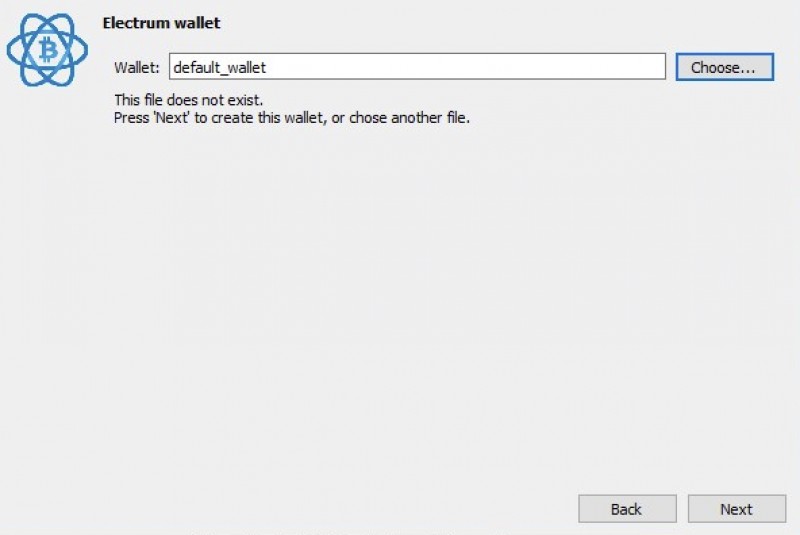
Then we will be asked to choose name of wallet. If you do not have one, enter your name and click Next.
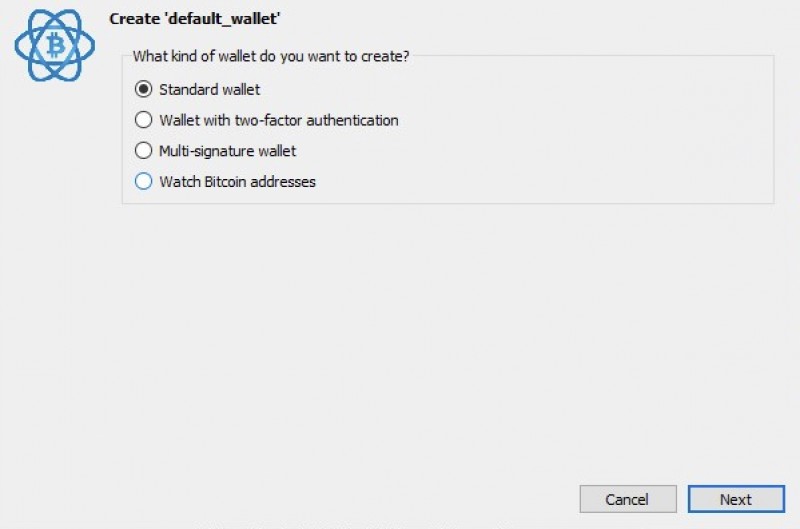
Next, you will see:
- create new seed - creating a completely new wallet
- I already have seed - reconstruction of an existing wallet,
- use public or private keys - import keys from another program,
- use a hardware device - an option for holders of hardware wallets.
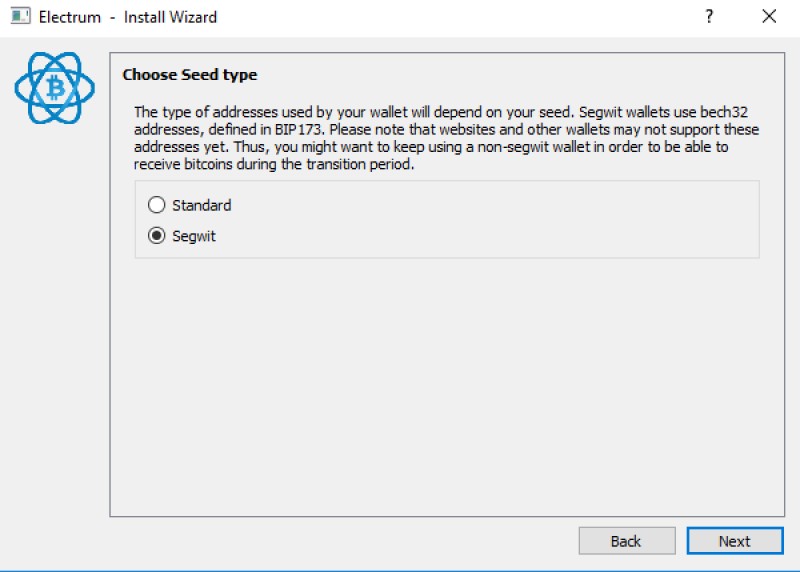
Now we have two options to choose: Create standard wallet and segwit wallet. You can read more about SegWit here . We recommend choosing the second option because this type of wallet is more forward-looking.
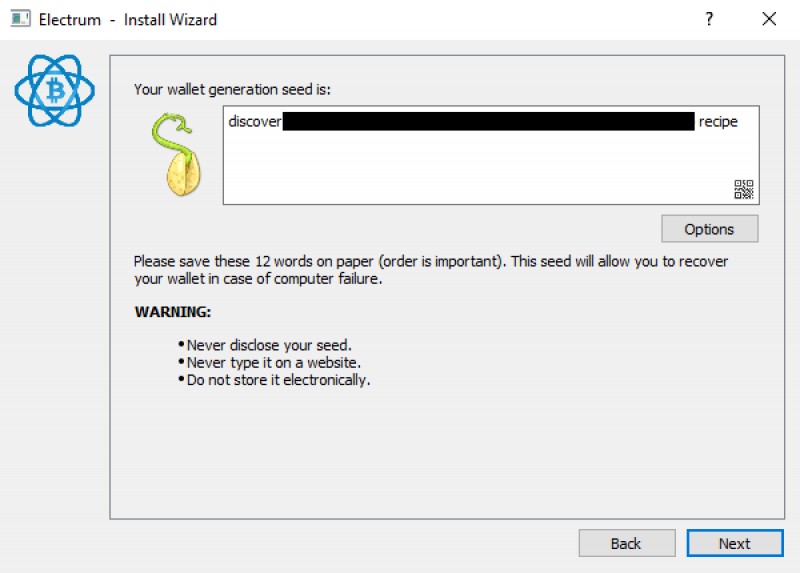
Now we can see 12 words, which at this moment we have to rewrite to a safe place. Seed, in the future will enable us to recreate the wallet.

After clicking on the place marked in the picture will appear Seed in the form of a QR code.
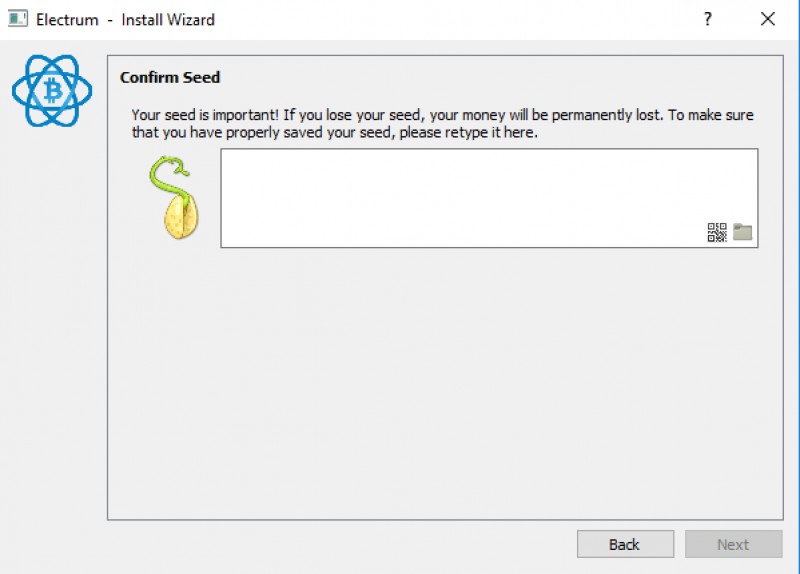
In this window we have to rewrite our string of words.

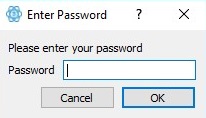
Now we have to come up with a password. It's best to choose non-worded, with different characters. Such a password will provide us with an adequate level of security.

This is how the main application interface looks like.
Using the application
Interface
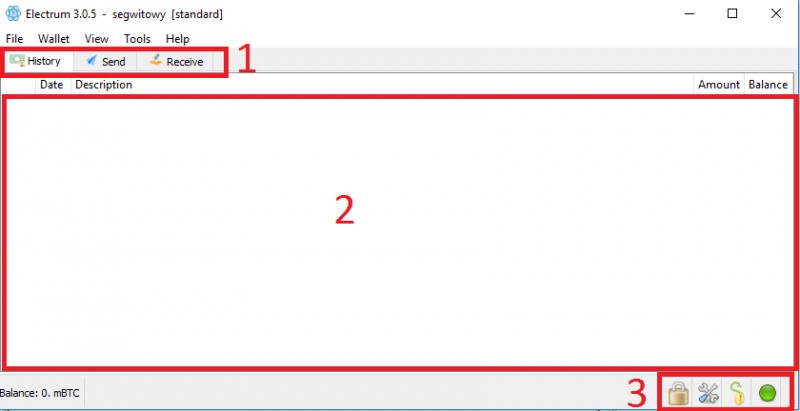
1. Menu with wallet features. In the "View" tab you can add more cards (with account balance, console, etc.)
- Transaction history
- Send Bitcoins
- Recive Bitcoins
3.The set of configuration functions and wallet status:
- Password change
- Application settings
- Backup
- Connection status to the server
Sending Bitcoins
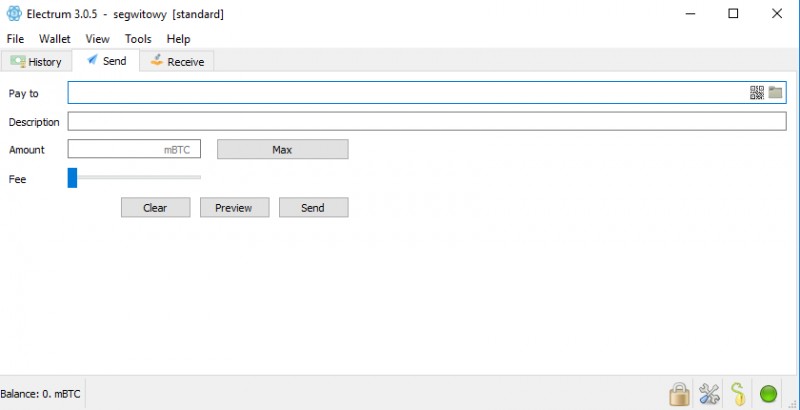
The "Send" card is responsible for sending BTC. We will find the following fields to fill in:
- Pay to - In this place, enter the receiver's address
- Description - Transaction description. In this place you can enter to whom and for what you sent your funds. Description only visible inside the wallet
- Amount - the amount of BTC we want to send. Please note that the amount by default is given in mBTC!
- Fee - transmission fee, the higher the amount is, the sooner BTC will reach the recipient, while the slider is being moved the estimated time of arrival is given
- And of course buttons that I do not have to explain. ;D
Receiving Bitcoins

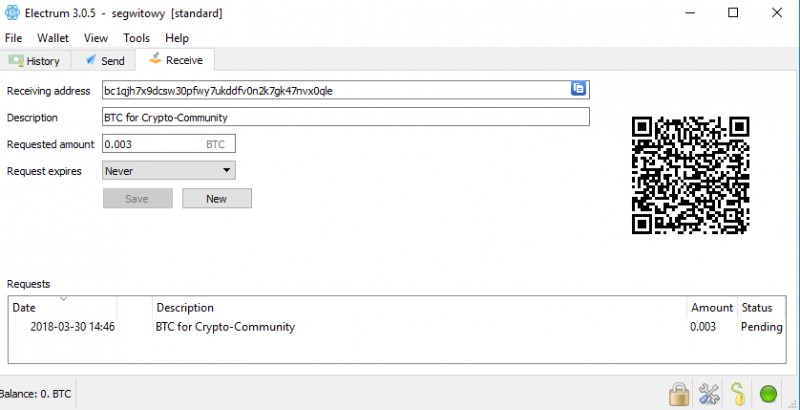
To recive some BTC, click on the "Recive" tab. In this tab we can generate a request, what amount of BTC we want to receive.
In sequence:
- Reciving address - this is our address to which we will receive Bitcoins. The icon at the end allows you to copy the address
- Description – description of our request
- Request amount - the amount of bitcoins we want to receive. Remember that the field defaults is in mBTC
- Request expires - expiration date of the request
At first glance, we can see the QR code, which changes after each correction in the request. As soon as the buyer scans the code, all the fields which are needed to sent transaction will be completed automatically.
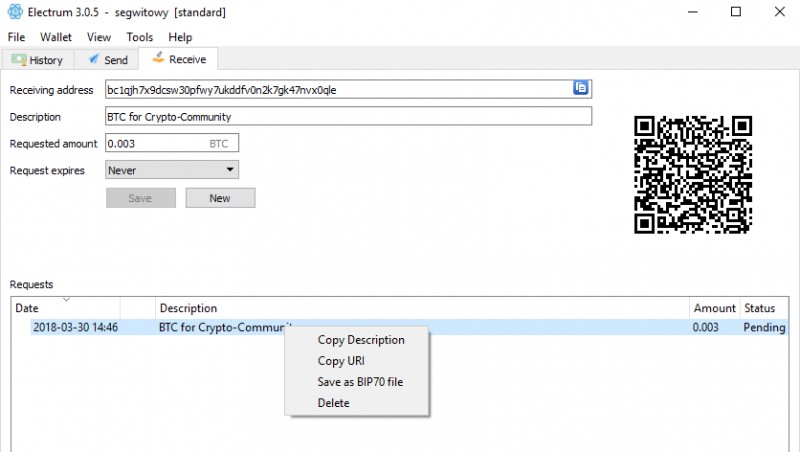
After saving, at the bottom you can see a table with all pending requests. When we right click on any of the requests, the menu will develop:
- Copy description - copying the description
- Copy URI - transaction link
- Save as BIP70 file - save to a file
- Delete – delete all requests
After clicking the left mouse button we have the option to re-edit the request
Address book
In the "Contacts" tab, we find an address book. After sending funds to some address, the reciver of our transaction is automatically saved in the address book.
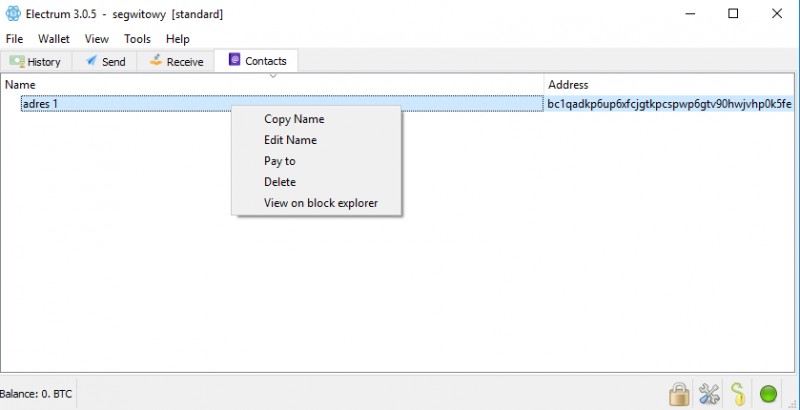
After right-clicking, we will develop a list of options:
- Copy Name - copying the name
- Edit Name - editing contact name
- Pay to - creates a new transaction
- Delete - Deleting the contact
- View on block explorer - we have the option of viewing the address in the chain's ekplorator
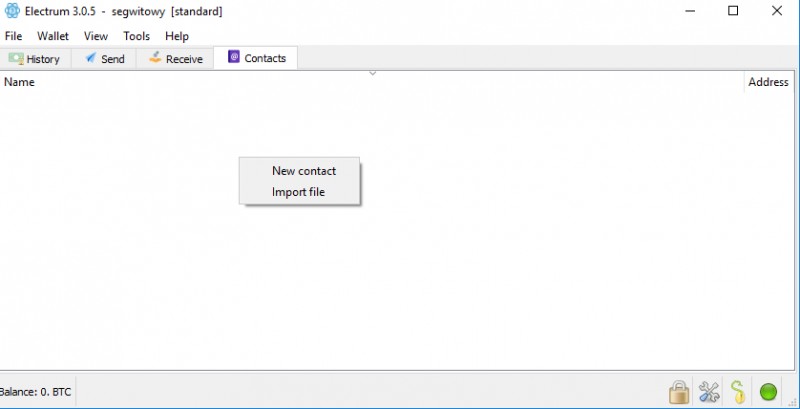
To add a new contact manually, just right-click on the white box, then select "New Contact"
Creating / importing another wallet
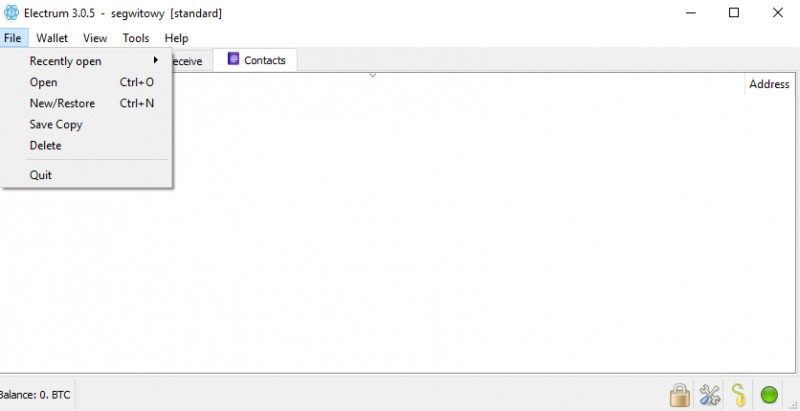
From the top menu, select "File" and then New / Restore.
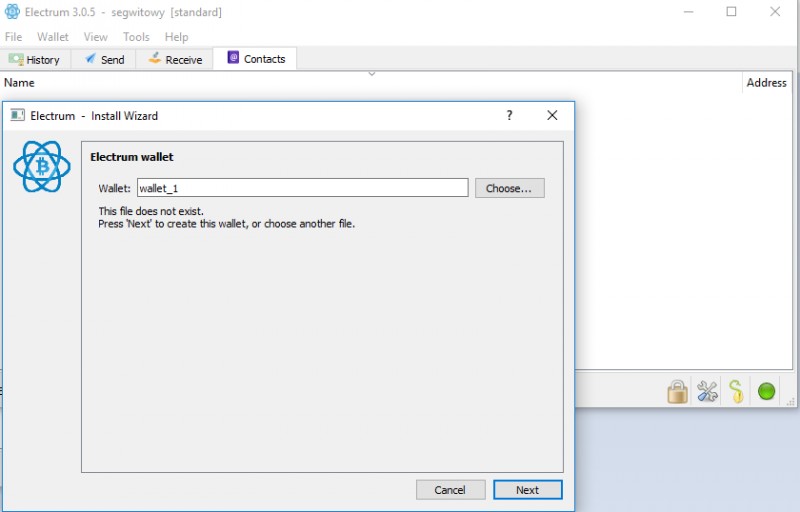
We choose the name. The next steps are the same as for creating a new wallet.
MultiSig wallets
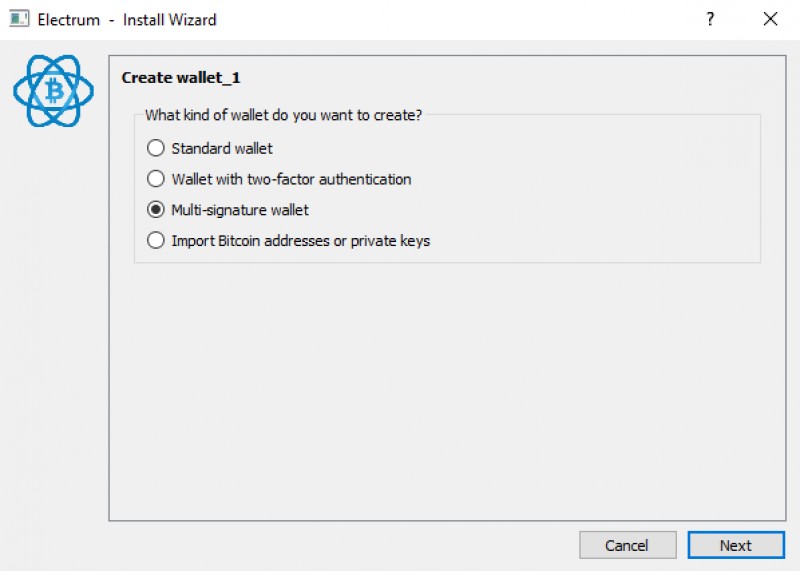
In the new wallet wizard, after selecting the name and location, we must select the wallet type. In this case it will be a "Multi-signature wallet". This type of wallet allows for better transaction security due to the greater number of keys needed to complete the transaction. Thanks to this, you can secure the sale, in which the buyer must also sign under the transaction.
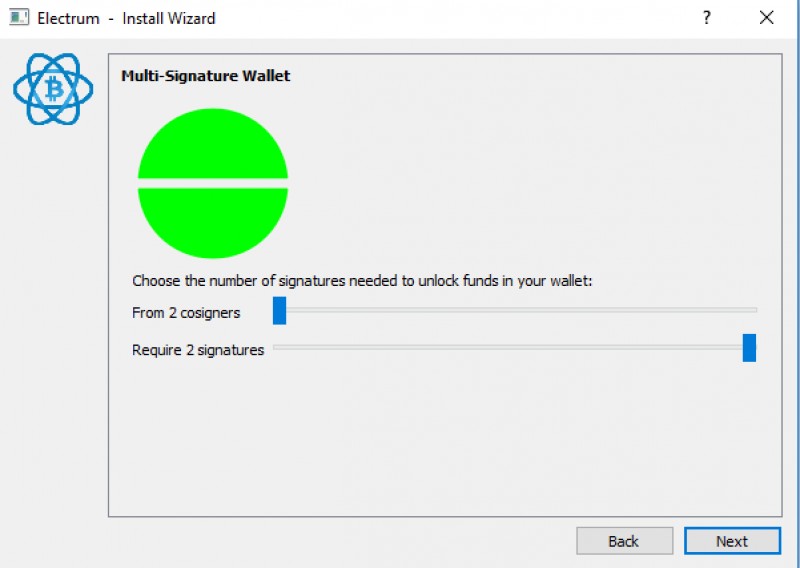
In this step, select the number of keys that will be generated and how many of them are needed to complete the transaction. The slider at the top is responsible for the number of keys generated, the bottom one is responsible for the number of signatures required.
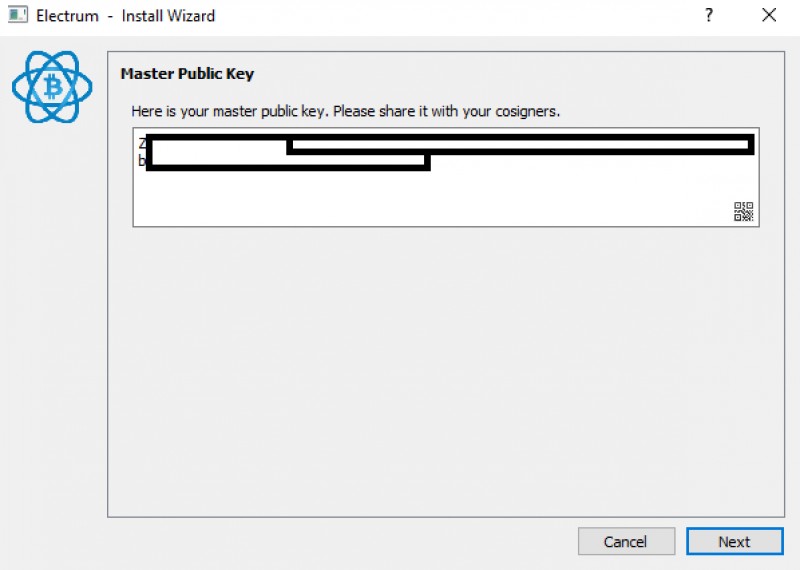
After clicking Next we will see the master key of the wallet, which should be sent to all co-owners.

Then we have to enter the master key (or seed, or hardware wallet key) generated by the partner. We have options:
- Enter cosigner key - Enter the key
- Enter cosigner seed - Enter backup
- Cosign with hardware key - use a hardware wallet (like Ledger, Trezor)
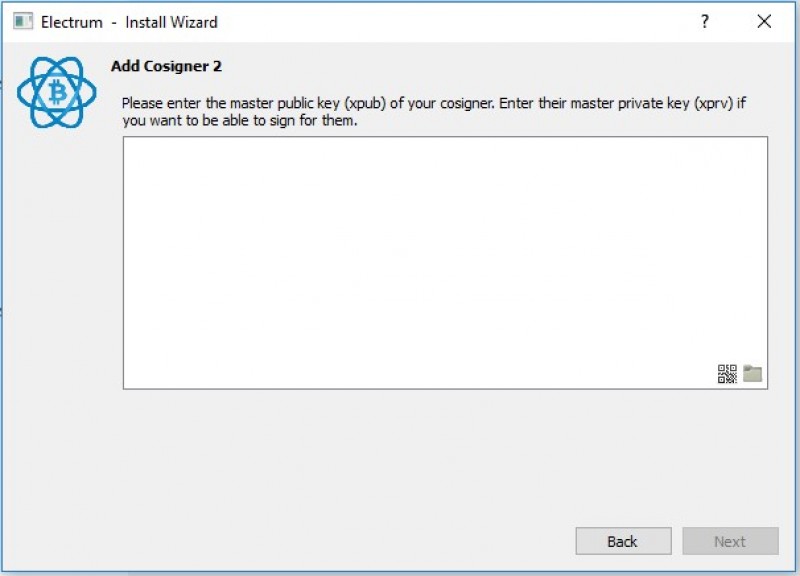
We enter the key.

Then we encrypt the wallet with a password. Finished.
Sending Bitcoins in multi-sig walletIn order to spend bitcoins from the multiSig wallet, all required co-owners have to sign the transaction.
Go to the "Send" tab and fill in the fields. Then, after clicking the "Send" button, a file will be generated, which will be signed by the co-owner.
To sign the file, select "Tools", expand "Load Transaction", choose from file. Open the file, click send. Finished.
